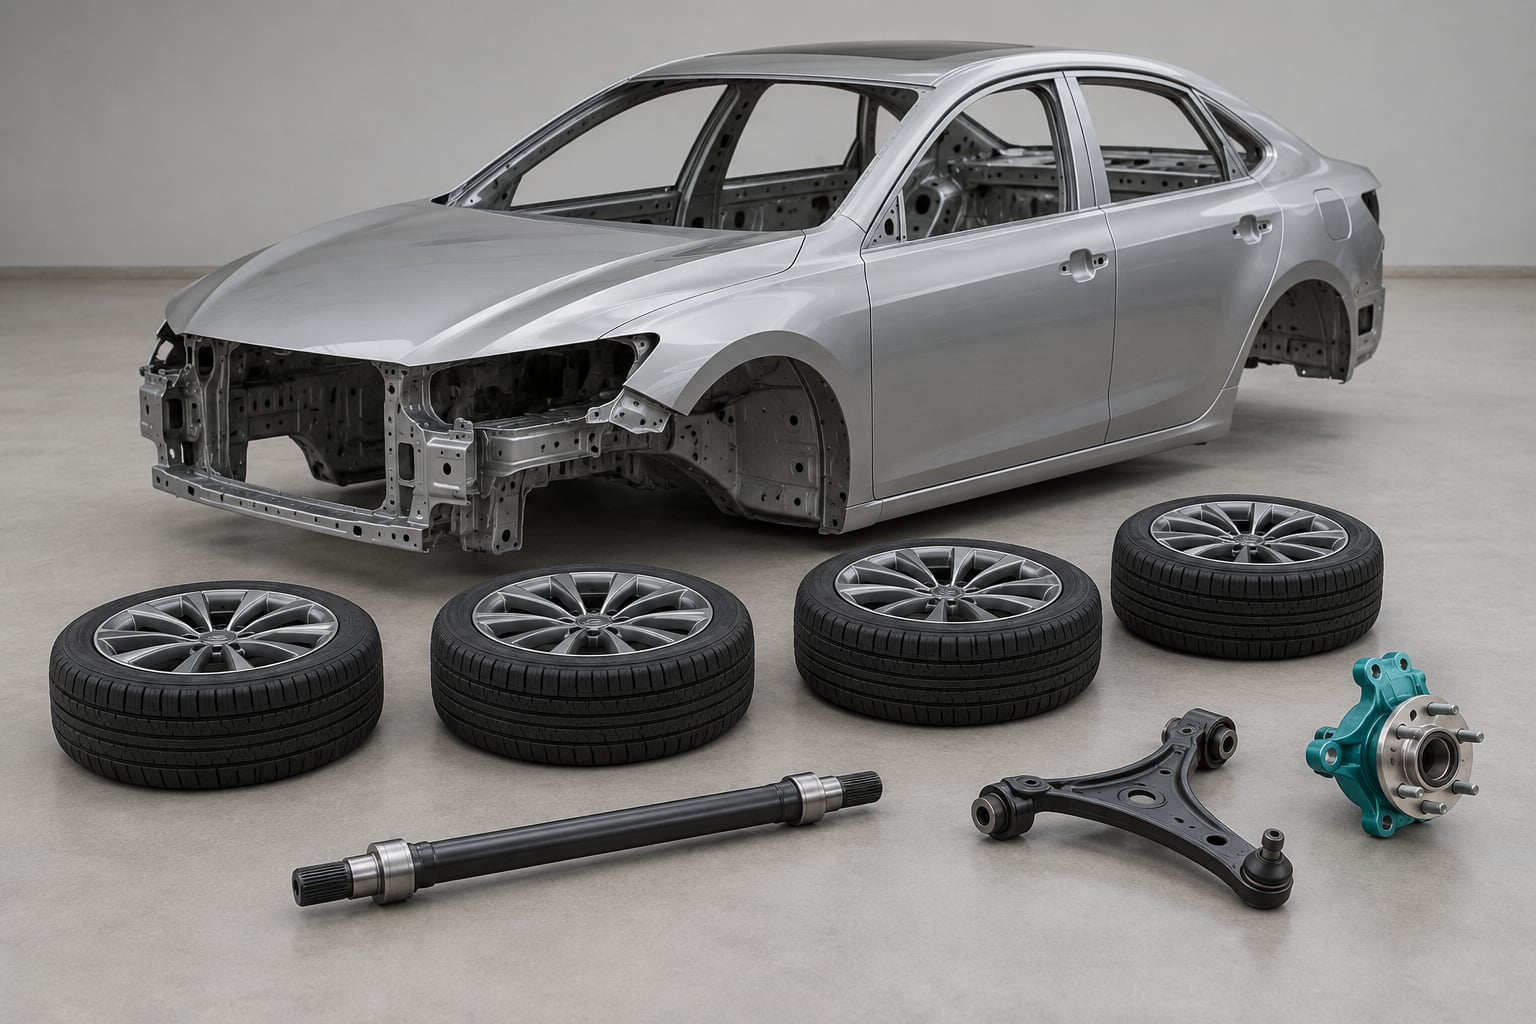
Rigging car wheels for a game engine means building one control per wheel plus a suspension control under a chassis root, then exporting that hierarchy so the engine can spin, steer and compress each wheel on its own axis. Most first attempts fail for the same three reasons: the pivot sits at the tyre edge instead of the hub centre, the spin axis is wrong, or the physics side was never rebuilt after the mesh changed.
Here is how to rig car wheels for a game engine, in the order that avoids rework:
- Clean the wheel mesh and apply its scale and rotation.
- Set the wheel origin at the hub centre, on the axle line.
- Build a chassis root and parent the body to it.
- Add one knuckle control per wheel at the same hub position.
- Add one spin control per wheel, parented under its knuckle.
- Parent each wheel mesh to its spin control.
- Test rolling, steering and compression before you export anything.
- Export FBX with transforms applied and a fixed naming scheme.
- Set the wheel radius, steering angle and suspension travel in the engine.
The whole thing takes an hour or two once you have done it a few times, and it is much easier to debug before the export than after.
Table of Contents
- 1What You Need
- 2How to Rig Car Wheels for a Game Engine: Step-by-Step
- 3Prepare the Wheel and Vehicle Hierarchy
- 4Create a Working Wheel Rotation Control
- 5Add Steering and Suspension Controls
- 6Test the Rig Before Exporting
- 7Export the Rig to the Game Engine
- 8Common Mistakes
- 9Frequently Asked Questions
- 10Do I need bones to rig car wheels for a game engine?
- 11Should the wheel origin be at the centre or at the axle?
- 12How do I make front wheels steer without breaking wheel rotation?
- 13Can I rig wheels in Blender for a game engine?
- 14Why do my car wheels rotate on the wrong axis in Unreal?
- 15Do I need to retopologize a car before rigging it for a game engine?
- 16Conclusion
What You Need
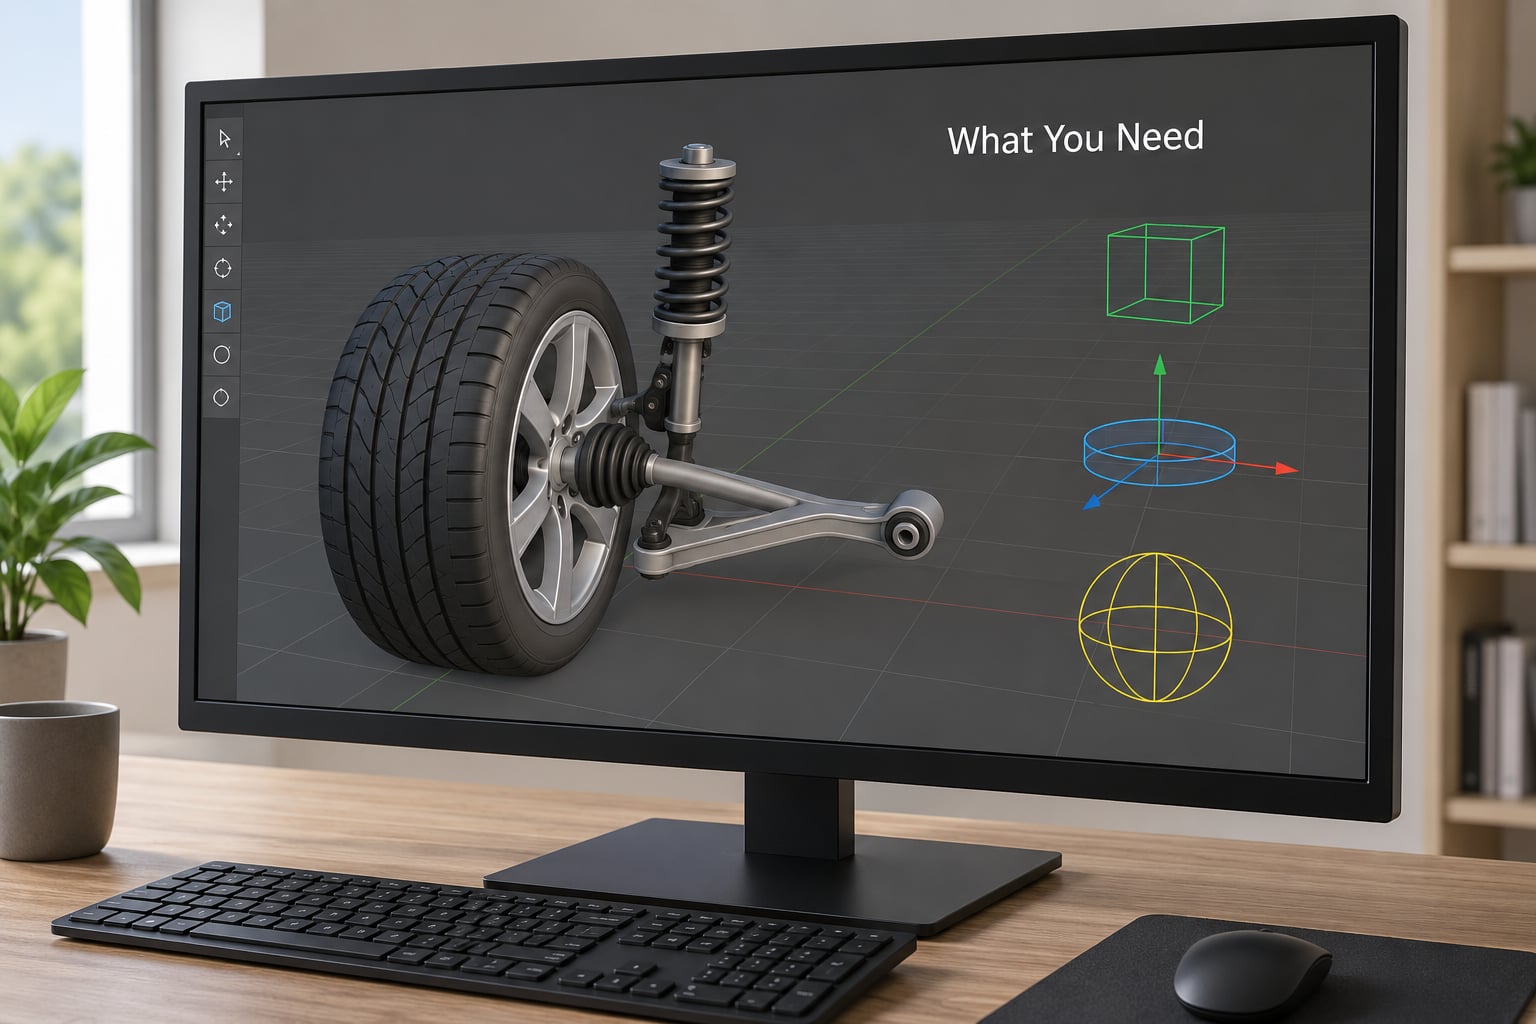
You need three things: a 3D application to build the rig in, a target engine to send it to, and a wheel model that is already clean enough to rig.
The modelling app. Blender, Maya and Cinema 4D all do this job. Blender is the most common starting point because Rigify and the Rigacar add-on generate the control structure for you, though you will usually need to correct the sensor offsets afterwards. Maya gives you the cleanest manual control over bone axes. Cinema 4D works if that is your production tool, but the export step flattens hierarchies more often than the other two.
The engine. Unreal Engine 5 with Chaos Vehicles, Unity with the WheelCollider component, or Godot with VehicleBody3D. Each of these simulates suspension and wheel contact itself, which is the single most useful thing to know before you start. In all three cases the engine owns the physics wheel, and your DCC-side rig is the visual layer that follows it.
A prepared wheel. Separate the front and rear wheels as individual objects, with the brake disc, caliper and tyre either joined or parented clearly. Keep the wheel poly count sane, since four wheels is four times whatever each one costs. Nothing needs retopologised for a rig, but stray loose geometry and unapplied modifiers will move strangely once it is skinned.
Naming and export defaults. Decide your bone names before you create anything. Retrofitting names onto an existing rig means rebuilding the hierarchy.
How to Rig Car Wheels for a Game Engine: Step-by-Step
Prepare the Wheel and Vehicle Hierarchy
Start with the wheel object and nothing else. Apply scale and rotation so its transform reads as identity, then set its origin to the geometric centre of the hub, on the line running through the axle. If you skip this, every later step inherits the offset and the wheel will spin like a coin instead of rolling.
Next, create an empty as the chassis root at the vehicle’s centre of mass, roughly at the centre of the wheelbase. Parent the car body mesh to it. The point of the root is that the whole rig can be moved, scaled and rotated as a unit, and that the engine has one component to attach physics to.
Rename everything now. A scheme that holds up across engines looks like this:
| Element | Name | Purpose |
|---|---|---|
| Root empty | chassis_root | Master control, physics attach point |
| Body mesh | body | Static shell, parented to the root |
| Knuckle controls | FL_knuckle, FR_knuckle, RL_knuckle, RR_knuckle | Holds steering yaw and suspension offset |
| Spin controls | FL_wheel, FR_wheel, RL_wheel, RR_wheel | Rotates the wheel on the axle |
| Wheel meshes | wheel_FL, wheel_FR, wheel_RL, wheel_RR | Visual geometry |
Do not use automatic parenting options that invent group nodes in the middle of the chain. They look harmless in the DCC and then collapse on import.
Create a Working Wheel Rotation Control
Place the spin control at the same hub centre point you just used for the wheel origin. Matching them exactly is what stops the wheel wobbling as it turns.
Set the control’s local axis so that the wheel rotates around the axle, not around any other direction. A wheel’s axle points sideways across the car, so in a vehicle pointing down its local negative Y axis, that is the X axis. If your model is oriented differently, rotate the control bone rather than rotating the wheel mesh, so the mesh keeps its own clean axis.
Parent the spin control under its knuckle, and the wheel mesh under the spin control. Then rotate the spin control by hand through a full turn. The wheel should roll like a wheel: no wobble at the edges, no swing towards the camera, no change in position.
If the wheel tilts instead of rolling, your axis is wrong. Do not fix it with a corrective rotation key on the mesh, because the engine will overwrite that rotation every frame.
Add Steering and Suspension Controls
Steering and rolling must live on separate axes in a parent-child chain. The knuckle handles steering as a yaw around the vertical axis, and the spin control beneath it keeps handling the roll. When both live on the same object, a turn flattens the spin or the spin throws the steering off, and you get a wheel that drifts sideways as it rotates.
For suspension travel, put the vertical movement on the knuckle as a small local translation, with the axis pointing up and down. Keep it as a control you can animate in the DCC for previews, and let the engine override it at runtime. The DCC value is for playback and for your own testing; in game the physics wheel’s suspension distance wins.
Front wheels get the steering range, typically between 30 and 40 degrees at full lock. Rear wheels stay at zero. Keep the steering limit symmetric so the car does not pull to one side at low speed, and remember that a very low maximum angle makes a car feel like it cannot turn, which is the complaint people usually describe as “the steering does nothing”.
Only the steered knuckle should also carry the brake disc and caliper, so the brake parts turn with the wheel rather than staying stuck to the body. That single detail is what makes a rig look finished.
Test the Rig Before Exporting
Run through five checks, each with a clear pass signal.
- Roll test: rotate one spin control 360 degrees. Pass if the tyre returns to its exact starting pose with no drift.
- Steer test: yaw a front knuckle to full lock while the spin control is at zero. Pass if the wheel points across the car and the wheel mesh moves with it.
- Suspension test: move a knuckle up and down along its axis. Pass if the wheel travels vertically and stays level, without swinging in or out.
- Origin test: check each wheel origin in isolation. Pass if every origin sits at the hub centre, not at the mesh origin Blender or Maya gave you for free.
- Scale test: read the scene unit scale. Pass if it is one-to-one with the engine, or if you have noted the exact conversion you are applying.
Also play the timeline and watch a full revolution at low speed. Anything that looks wrong in a slow playback will look broken at 60 kilometres per hour.
Export the Rig to the Game Engine
Export FBX with the wheel meshes separate from the chassis, transforms applied, and the hierarchy under chassis_root intact. Disable anything that remaps bones, turn off animation baking unless you have keyframes you actually want, and make sure the axis settings on export match what the engine expects. Unreal and Unity differ here, and getting it wrong is the usual reason a skeleton imports flattened.
In Unreal, import the skeleton, then configure each wheel as a Chaos Vehicle wheel: set the bone name to your spin control, set the wheel radius from your actual tyre diameter, and set the steering angle on the front wheels only. Rebuild the physics asset after the mesh changes, and confirm gravity is enabled on the pawn blueprint. Forgetting the rebuild is the most reported reason wheels sit wrong or sink into the floor.
In Unity, add a WheelCollider per wheel and set the visual child object. The collider radius, suspension distance and the visual mesh radius should match, or the tyre will clip into the ground at speed. In Godot, VehicleBody3D takes the same idea with its own wheel properties.
Import the rig, assign every wheel, and drive it once before adding any animation polish. The last piece is the link between physics and the visual controls: the engine computes wheel spin from ground speed and writes that rotation into the spin control every frame, and it does the same for suspension offset and steering angle. So you should not keyframe the wheel rotation by hand. Keyframing means the wheel fights the simulation, and the moment the car reaches a different speed the wheels are wrong.
If you are working out how to rig car wheels for a game engine from a blank file, this export step is where a rig that worked perfectly in the DCC most often gets lost. Re-import the result before you build anything on top of it.
Hand animation is only worth it for non-player vehicles, where nothing else drives the car and you want a cinematic push-in with the wheels turning to match.
Common Mistakes
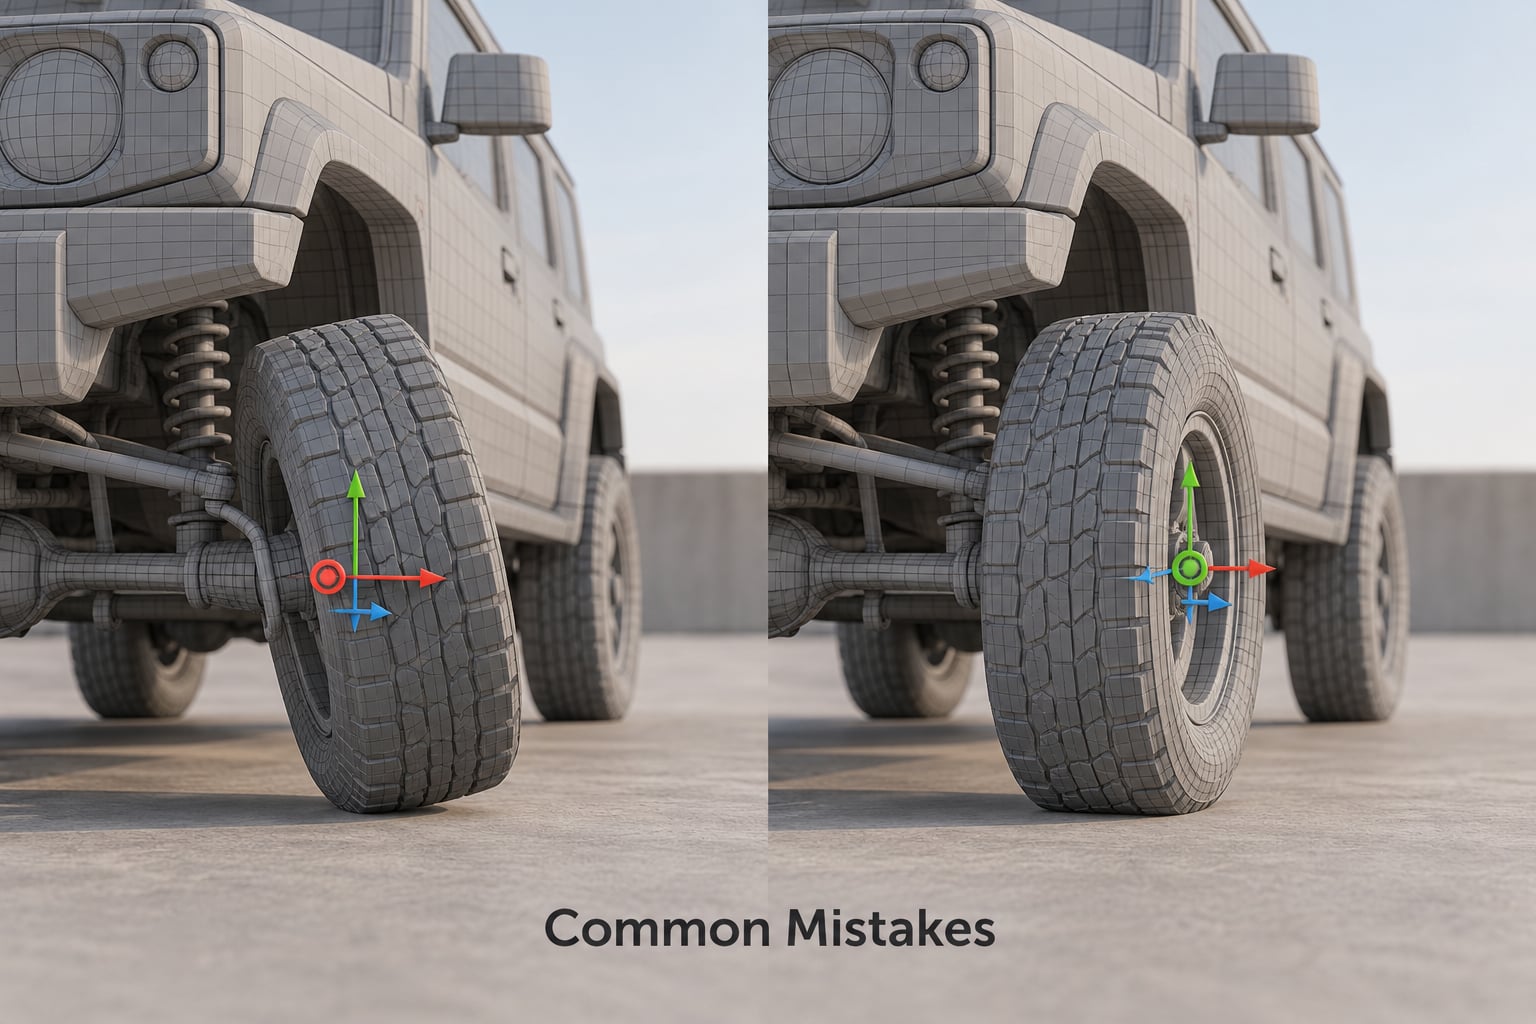
Almost every “my car rig is broken” report comes down to one of the rows below.
| Symptom | Likely cause | Fix |
|---|---|---|
| Wheels do not move at all | No spin control, or the wheel mesh is not parented to one | Parent each wheel mesh to its spin control and confirm the control drives the mesh |
| Wheels spin on the wrong axis | Spin control axis is not aligned with the axle | Rotate the control bone itself so its local axis runs across the car, and never correct it on the mesh |
| Wheels sink into the floor | Wheel radius too small, collider not rebuilt, or gravity off on the pawn | Match the radius to the tyre, rebuild the physics asset, enable gravity on the blueprint |
| Steering does nothing | Steering and spin share one axis, or the steering angle is near zero | Split knuckle and spin onto separate controls, then raise the front steering angle |
| Wheels wobble at speed | Wheel origin and spin control origin are not co-located | Move both origins to the exact hub centre on the axle line |
| Hierarchy collapses on import | Automatic parenting added group nodes, or the exporter remapped bones | Rebuild parent links by hand, disable remapping, and re-export |
| Ground sensors offset from the wheels | An add-on generated the rig against the wrong reference scale | Move the sensors manually to sit at tyre contact height, or set the scale correction and regenerate |
| Brakes stay with the body | Disc and caliper parented to the chassis | Reparent them to the knuckle so they follow steering |
One more worth flagging: if your engine already ships a working vehicle template, using it and fitting your own mesh is usually faster than building a rig from scratch. Build the custom rig when you need wheel-specific control that the template does not expose, such as independent suspension travel on each corner for a cinematic showcase.
For a low-poly or mobile build, drop the knuckle layer, keep one spin control per wheel, and let the engine handle all suspension. That removes four controls and their animation without losing anything a player would notice at that polygon budget.
Frequently Asked Questions
Do I need bones to rig car wheels for a game engine?
It depends on the engine and the vehicle system. Unreal Chaos Vehicles and Unity WheelCollider both simulate the wheel as a physics object and look for a named node or bone to move the visual mesh. If your mesh has no bones at all, the engine still simulates the car but has nothing to spin the visible wheels with. Bones or empties are cheap, and they are what connects physics to what the player sees.
Should the wheel origin be at the centre or at the axle?
Put the origin at the hub centre, on the line through the axle. The mesh itself can keep its own geometry origin, but the spin control and the wheel origin must be co-located or the wheel will wobble as it turns. Anything offset from the hub centre produces a visible wobble that gets worse the faster the car goes.
How do I make front wheels steer without breaking wheel rotation?
Keep steering and rolling on separate axes in a parent-child chain. The knuckle control handles the left and right yaw, and the spin control beneath it keeps handling continuous rolling around the axle. If both live on one object, a turn flattens the spin or the spin throws the steering off, and the wheel drifts sideways while it turns.
Can I rig wheels in Blender for a game engine?
Yes. Blender can model, rig, test and export wheels through FBX or glTF, provided the target engine accepts the rig format. Blender is the usual starting point because Rigify and the Rigacar add-on generate the control structure automatically. Budget time for correcting sensor offsets afterwards, since add-ons often build against the wrong reference scale.
Why do my car wheels rotate on the wrong axis in Unreal?
The spin control’s local axis is not running across the car along the axle, so the engine’s tire rotation turns the wheel in a plane you did not expect. Fix it by rotating the control bone itself rather than the wheel mesh, then rebuild the physics asset. Correcting it on the mesh does not work because the engine overwrites that rotation every frame.
Do I need to retopologize a car before rigging it for a game engine?
No. Rigging works on any topology, since the wheel is driven by a bone or empty rather than by deforming geometry. What does matter is removing loose geometry and applying modifiers, because unapplied or stray parts move unpredictably once parented. Retopologizing matters for the render budget and for in-game detail, not for the rig itself.
Conclusion
If you take one thing away from how to rig car wheels for a game engine, make it this: build one wheel first. Get the spin control centred on the hub, the axis correct and the mesh parented cleanly, then test that single wheel until a full rotation looks perfect at a slow playback speed.
Once that one corner is right, duplicating it across the remaining three is quick. Name everything before you export, rebuild the physics asset in the engine once the mesh is in place, and then expand to steering and suspension tuning. Wheels that spin wrong, sit still, or sink into the floor nearly always trace back to one of those first two stages.