How to install mods on an Android emulator on PC comes down to two routes: sideload a modded APK or XAPK through the emulator’s own installer, or drop the game’s OBB and data folders into the Android/obb directory inside the virtual device. Once your emulator is running, either route takes about ten minutes.
Nearly every failed mod install traces back to one of three things: the mod file does not match the version of the game you have, Android refuses to replace an app signed with a different key, or the asset folder is sitting one level too high in the directory tree. Fix those three and the rest is routine.
Quick facts: Root access is optional for most game mods and required for none of the common ones. A modded game takes roughly 10 minutes to install once the emulator is set up. Storage-heavy games with big OBB packs want 15 to 25 GB free. Expect a Play Protect warning on every re-signed APK, and expect the official app to need uninstalling first.
Table of Contents
- 1What You Need
- 2Step-by-Step: How to Install Mods on an Android Emulator on PC
- 31. Choose a Compatible Android Emulator
- 42. Install the Emulator and Enable APK Installation
- 53. Download the Correct Mod File
- 64. Install the Mod APK or XAPK in an Android Emulator on PC
- 75. Move OBB or Additional Data Files
- 86. Launch the Game and Confirm the Mod
- 97. Update or Replace the Mod Safely
- 10Common Mistakes
- 11Frequently Asked Questions
- 12Can I install mods on an Android emulator on PC?
- 13How do I install an XAPK mod in an Android emulator?
- 14Where do I put OBB files when using an Android emulator?
- 15Why is my modded APK not showing the installed mod?
- 16Can I update or remove a mod after installing it?
- 17Are modded APKs safe to install on an Android emulator?
- 18Conclusion
What You Need
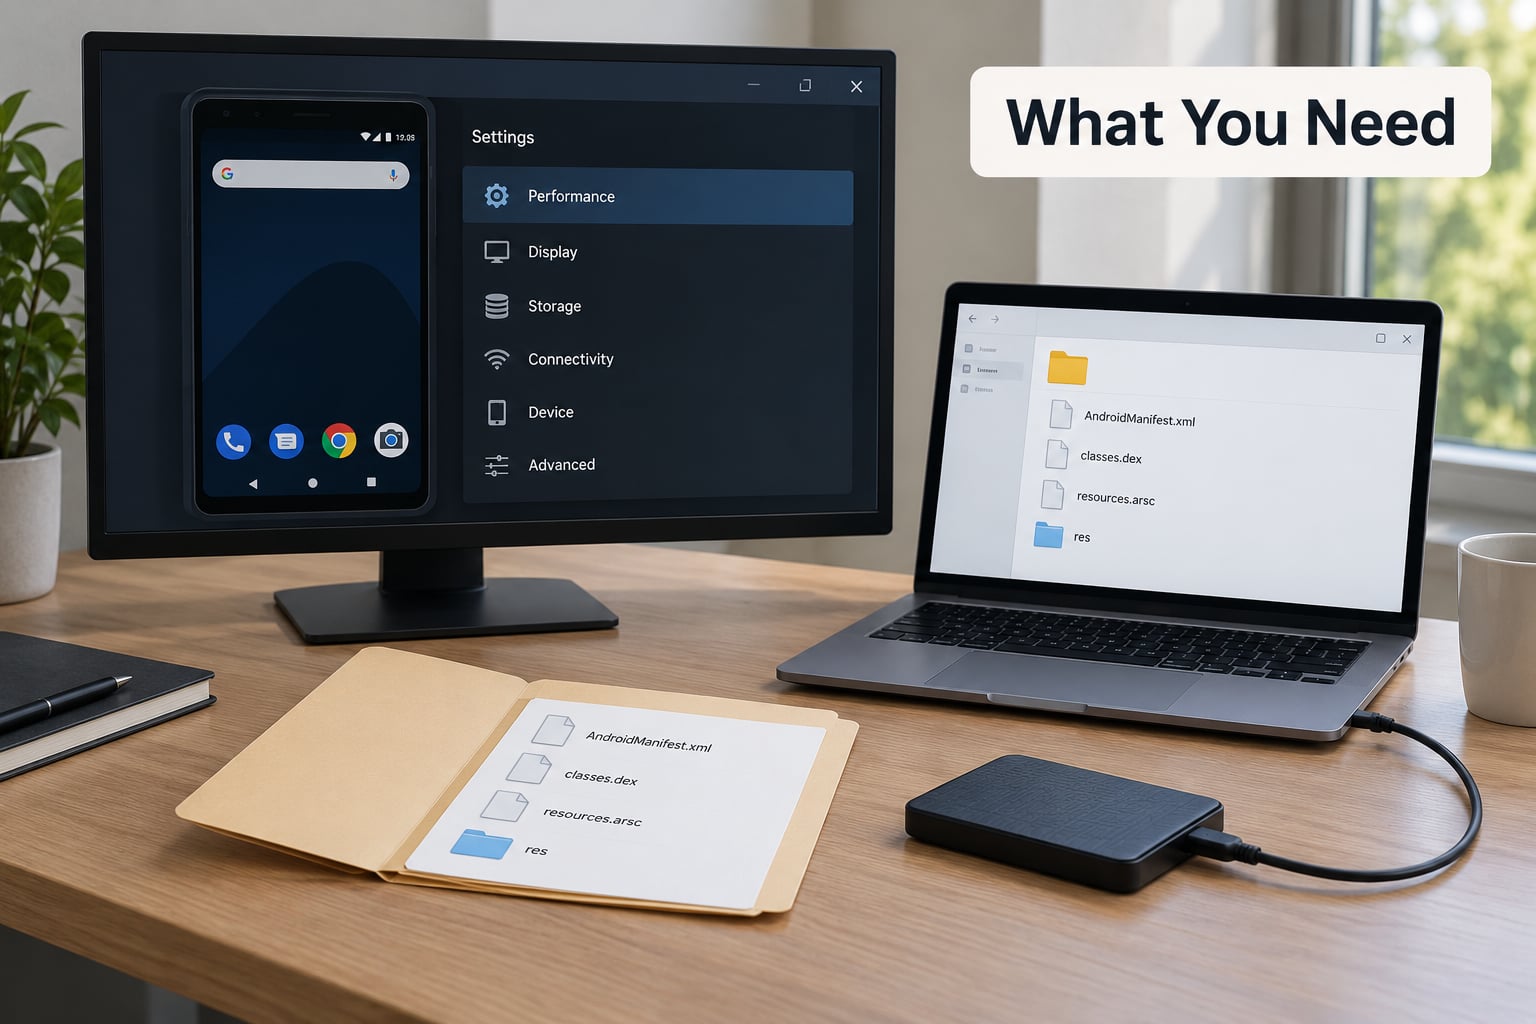
An emulator is a full Android system running inside a window on Windows, so its storage behaves like a phone’s storage, which means it also has phone-style rules about permissions, signatures and folder access. Getting those right up front saves the reinstall later.
- A compatible emulator. BlueStacks 5, LDPlayer 9, NoxPlayer and MuMu Player all run modded games, but they ship different Android versions and different graphics stacks, so one may run a game the others will not.
- Hardware virtualization enabled. Intel VT-x or AMD-V must be switched on in BIOS or UEFI, and in Windows it usually means the Hyper-V or Windows Hypervisor Platform option has to be turned off first.
- The right mod file. Match the game’s version number, Android version and CPU architecture. A mod built for a newer build of the game will either refuse to install or crash on launch.
- Any OBB or data pack the mod ships with. Many mod pages post a separate zip containing an expansion folder; skipping it is the number one reason a mod installs and then does nothing.
- Free disk space. Give the emulator itself at least 8 GB in its settings, and keep another 20 GB or so free on the Windows drive if the game ships large asset packs.
- A file route. Emulators expose shared-folder sync, drag-and-drop from Windows Explorer, or ADB. If the Files app inside the emulator is blocked, you need one of the other two.
- A backup of your progress. If Google Play Games is signed in, sync the save first. Uninstalling the official app can wipe the local save.
Step-by-Step: How to Install Mods on an Android Emulator on PC
The short version, if you want the process in one block:
- Pick an emulator that runs your game, with virtualization on.
- Install it, then allow installs from unknown sources.
- Download the mod matching your game version and architecture.
- Sideload the modded APK, or extract the XAPK and install base.apk.
- Copy OBB and data folders into Android/obb, using the package name.
- Restart the emulator, launch the game, confirm the mod loaded.
- Grant storage permissions if the Files app is blocked.
- Uninstall the official version first if you hit App Not Installed.
1. Choose a Compatible Android Emulator
Start with the game, not the emulator. Check what Android version the game needs and whether the developer blocks emulators outright. Games with anti-cheat, and several competitive shooters, will not launch in an emulator no matter which one you pick.
After that, the practical differences come down to root access, how easily you can push files into Android/data and Android/obb, and how close the shipped Android version is to what the mod expects.
| Emulator | Root access | Getting files in | Good for |
|---|---|---|---|
| BlueStacks 5 | Built-in toggle, but it is not full root and cannot write to the system partition | Shared folder sync plus drag-and-drop from Windows Explorer | Most Android players already have it installed; easiest default |
| LDPlayer 9 | Root toggle in advanced settings, widely used for game mods | Shared folder and an instance folder on the Windows drive | Games that need a newer or older Android image than BlueStacks ships |
| NoxPlayer | Root toggle in settings | Shared-folder sync from Windows | Lower-end PCs; the interface stays out of the way |
| MuMu Player | Root option available per instance | Drag-and-drop and shared folder | Players who want several instances running side by side |
On performance, Nox is often lighter on older machines while BlueStacks is usually the smoothest on current Windows 11 hardware. Neither will rescue a PC that is already out of RAM, and most modern Android releases want 8 GB of system memory with 2 GB or more handed to the emulator.
Check virtualization before you install anything. If VT-x or AMD-V is disabled in the BIOS the emulator will crawl or refuse to boot, and on Windows 10 and 11 the Hyper-V feature frequently has to be off before the emulator’s own virtualization toggle will activate. This trips up more first-time modders than the mod install itself does.
2. Install the Emulator and Enable APK Installation
Download the emulator from its own site, not from a download portal. The mirrors people use for speed are a common source of the bundled adware that makes antivirus block the install.
Run the installer and let it finish before opening the emulator. On first launch the app creates an Android image and takes a few minutes to a couple of hours depending on your disk and network, so let it settle rather than killing it halfway.
Then open Settings inside the emulator and allow installs from sources that are not the Play Store. The exact wording varies: BlueStacks puts it under Security or Advanced settings, LDPlayer under Other settings, Nox under the system root options. Android 13 and newer hide this behind a per-app permission, so if the installer says the source is blocked, open the emulator’s app info screen and grant Install unknown apps for the file manager you are using.
One expectation to set now: a modded APK has been re-signed by whoever built it, so Play Protect will flag it every single time. Tapping through the warning is the normal path, and the fact that a re-signed APK triggers it says nothing about whether the mod works.
3. Download the Correct Mod File
The four file types you will meet, and what each one actually is:
| File | What it contains | Where it goes | Root needed |
|---|---|---|---|
| APK | The Android application package, the installable app itself | Installed through the emulator’s package installer | No |
| XAPK | A bundle holding base.apk, split APKs and often the OBB asset folder | Extracted first, then base.apk installed | No |
| OBB | The expansion asset folder holding a game’s large data files | Android/obb, inside a folder named for the package | No, if folder access works |
| Data folder | Loose replacement files for a specific version of the game | Android/data, in the game’s own package folder | Usually no |
Match the mod against the game before you download anything. Check the version number in the game’s own store listing against the version the mod page says it is built for, check that the mod lists an Android version the emulator can match, and check the CPU architecture. APKs come in 32-bit, 64-bit or universal builds; a 64-bit-only mod will not install on an emulator image still running 32-bit.
Learn to read the package name, because it is the folder name you will need later. It is the com.something.game string shown on the game’s store page or in its settings screen, and it is the one detail that most often gets mistyped when copying asset folders.
4. Install the Mod APK or XAPK in an Android Emulator on PC
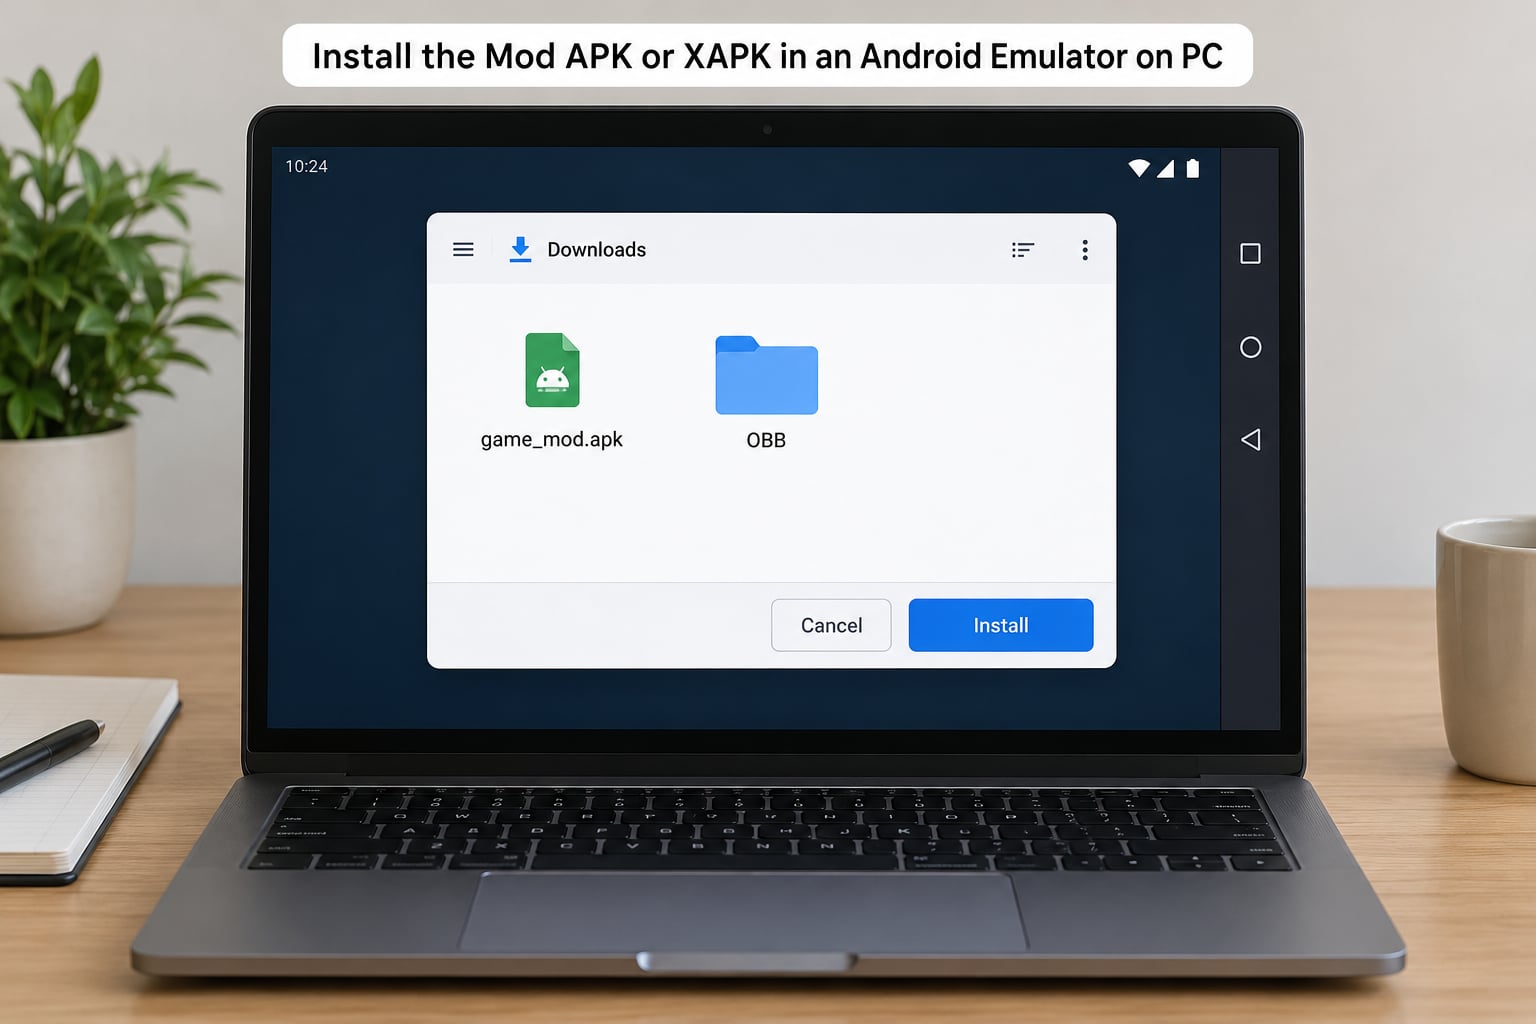
For a plain APK there are three routes that all end the same way. Drag the file from Windows Explorer onto the emulator window and the emulator usually offers to install it. Or open the emulator’s own installer, usually labelled Install APK, and browse to the file. Or push it over ADB from a command prompt with adb install "C:pathtomod.apk", which gives you the real error message when something fails.
For an XAPK, rename it to .zip, extract it on Windows, and install the base.apk file inside. The other files in that extracted folder are usually split APKs and the asset folder, and the asset folder belongs in Android/obb rather than in the installer. BlueStacks ships its own XAPK installer in recent builds, so check the side toolbar before extracting by hand.
If the installer refuses with App Not Installed or INSTALL_FAILED_UPDATE_INCOMPATIBLE, the official Play Store version of the game is still installed and the mod is signed with a different key. Android will not let one app replace another with a different signature. Uninstall the official game first, then install the mod. Uninstalling removes the local save, so sync progress to Google Play Games beforehand if you care about it.
While you are here, a word on multiplayer: a modded client is a modified client, and games with server-side checks will flag it. Modded single-player games are the low-risk case; anything with ranked matchmaking or a leaderboard is not worth the account.
5. Move OBB or Additional Data Files
This is where Android gets in the way. Android/data and Android/obb are restricted on Android 11 and newer, so the Files app inside the emulator often shows those folders as empty or refuses to open them. Three ways around it, easiest first.
- Drag and drop. Drag the extracted folder from Windows Explorer and drop it onto the emulator window. Most emulators accept it and place it under the shared storage location.
- Shared folder. Point the emulator’s shared-folder setting at a Windows directory, copy files into it on the PC side, and let the emulator sync them into Android storage.
- ADB. Push the folder directly with
adb push "C:pathtofolder" /sdcard/Android/obb/com.game.package. This is the most reliable route when the Files app is blocked.
The destination path inside Android is Android/obb/<package.name>/, with the files inside that folder, not one level above it. Asset packs for saves and progression belong in Android/data/<package.name>/ instead. If the game launches and looks completely unmodded, a folder sitting in the wrong place is the first thing to check.
| Emulator | Windows folder to look in | Inside the emulator |
|---|---|---|
| BlueStacks 5 | C:ProgramDataBlueStacks_nxt | Android/obb or the shared folder location |
| LDPlayer 9 | The LDPlayer install folder and its vms subfolder | Android/obb via shared folder |
| NoxPlayer | The Nox install folder under Program Files | Android/obb via shared folder |
| MuMu Player | The MuMu install folder under Program Files | Android/obb via drag-and-drop |
Exact subfolder names move between emulator versions, so open the shared-folder setting inside the emulator first and copy the path it shows you rather than hunting the Windows drive blind. If the Files app genuinely refuses to write to Android/obb, the community workaround is a folder-mounting utility that relocates app storage to a location you can reach.
6. Launch the Game and Confirm the Mod
Start the game from the emulator’s home screen or app drawer, not from the file you installed. Emulators often install an app without refreshing the launcher, so if the icon is missing, restart the emulator and the icon appears.
Give it a moment on the loading screen, since replacement assets are read at startup. Then look for something you know changed: a new map, a different vehicle, an unlocked skin, an extra currency balance, or a mod menu that opens with a key combination. If the game looks identical to the store version, you installed the wrong file or the assets are in the wrong folder.
7. Update or Replace the Mod Safely
Switching mods is a clean-then-install job. Uninstall the current modded build, clear the app’s storage if the new version still misbehaves, then install the replacement. Never leave files from two game versions in the same asset folder, because the mismatched leftovers are what produce half-old, half-new texture bugs that are miserable to chase.
Your local save lives in Android/data and survives an APK swap but not an uninstall, so back it up to a Windows folder before removing anything. Going back to the unmodified game is the same process in reverse: uninstall the mod, put the official OBB folder back, reinstall the store build and sign in again.
Common Mistakes
| What you see | Why it happens | Fix |
|---|---|---|
| App Not Installed or INSTALL_FAILED_UPDATE_INCOMPATIBLE | Official game still installed, mod signed with a different key | Uninstall the official game, then install the mod |
| Parse error or invalid package | Corrupt download, or a split APK opened instead of base.apk | Re-download, and for XAPK install base.apk specifically |
| Blocked by Play Protect | Mod APK was re-signed | Expected behaviour; review the source, then install anyway |
| Install finishes but nothing changes | Asset folder unzipped one level too high, or in the wrong directory | Check that Android/obb holds a folder named for the package |
| Black screen on launch | Graphics backend mismatch or missing assets | Switch the emulator’s render mode in settings, confirm the asset folder is complete |
| Files app cannot open Android/obb | Scoped storage restrictions on Android 11 and newer | Use drag-and-drop, the shared folder, or ADB instead |
| adb: failed to copy, read-only file system | Trying to write to a system path the emulator’s root cannot reach | Target /sdcard/Android/obb instead of a system directory |
| Installed app missing from the launcher | Launcher has not refreshed | Restart the emulator |
Three habits that prevent most of this. Back up Android/data before any uninstall. Download mods from a source you would recommend to a friend, since a re-signed APK carries the same access as any other app you install. And if you are testing several mods, use the emulator’s multi-instance manager so each version gets its own storage rather than fighting over one asset folder.
Frequently Asked Questions
Can I install mods on an Android emulator on PC?
Yes. An emulator runs a full Android system, so modded APKs install through its normal package installer and OBB asset folders go into Android/obb the same way they would on a phone. Most game mods need no root at all. The two things that trip people up are a version mismatch between the mod and your game, and Android refusing to replace the official app because the mod is signed with a different key.
How do I install an XAPK mod in an Android emulator?
Rename the XAPK to .zip and extract it on Windows, then install the base.apk file inside through the emulator’s Install APK option or by dragging it onto the emulator window. The rest of the extracted contents are usually split APKs and the asset folder. The asset folder does not go through the installer; it needs to be placed in Android/obb under a folder named for the game’s package.
Where do I put OBB files when using an Android emulator?
Inside the emulator, OBB files go to Android/obb and then into a subfolder named for the game’s package, such as Android/obb/com.game.package. The files sit inside that folder, not beside it. On the Windows side, drop the extracted folder onto the emulator window or use the emulator’s shared-folder sync. If the Files app shows the folder as empty, use drag-and-drop or an ADB push, because Android 11 and newer block direct access.
Why is my modded APK not showing the installed mod?
The most common cause is that the asset folder was extracted one directory level too high, or placed in Android/data when it belongs in Android/obb. The second cause is a version mismatch: the mod was built for a different build of the game. The third is a mod that installs its own files on first run and was overwritten by the original OBB pack. Check the folder path first, then confirm the versions match.
Can I update or remove a mod after installing it?
Yes. Uninstall the modded build, clear the app’s storage if the replacement still misbehaves, then install the new version, and never leave files from two game versions in the same asset folder. Your local save sits in Android/data and survives an update but not an uninstall, so copy it to a Windows folder before removing anything. To return to the unmodified game, restore the official OBB folder and reinstall the store build.
Are modded APKs safe to install on an Android emulator?
Treat them like any other app you install. Because a modded APK is re-signed, Play Protect and Windows Defender will flag it, and that warning on its own does not mean the file is malware. It does mean you should download from a source you trust and check the page for a published hash before installing. In a PC emulator the blast radius is smaller than on a phone, since your contacts, SMS and banking apps are not inside it.
Conclusion
Start by confirming the mod matches your game’s exact version and Android version, because no amount of troubleshooting fixes a file built for a different build. After that, check that virtualization is enabled and that the emulator’s disk has room, then pick your route.
Your final checklist: emulator installed with virtualization on, official game uninstalled if you are replacing it, save backed up out of Android/data, mod file downloaded and verified, APK installed or XAPK extracted, asset folder placed at Android/obb/<package.name>/ with the files inside it, emulator restarted, game launched. If the game still looks unmodded, walk back through the folder path before you reinstall anything, because that is where it almost always goes wrong.