A car mod slows a weak PC down for three reasons: oversized texture files eating your VRAM, a broken or too-far LOD chain forcing late streaming, and every other mod in your folder competing for the same 4 to 8GB of RAM. To optimize a car mod for weak hardware, cut those three costs in that order and change one thing at a time so you can actually see what helped.
That last part is where most people give up. They install an optimizer, clear the cache, swap ten settings and blame the result on whichever change happened to land last. If you keep a baseline number and test one edit per session, an hour of work tells you more than a weekend of guessing.
The same rules apply whether you are running GTA V on a 4GB laptop with integrated graphics, San Andreas Classic on an older machine, or a FiveM server full of addon cars. The asset is the cost, and the asset is where you edit it.
Table of Contents
- 1What You Need
- 2Step-by-Step: How to Optimize a Car Mod for Weak Hardware
- 31. Create a clean vehicle-mod test setup
- 42. Reduce polygon count and mesh detail
- 53. Remove or downgrade expensive textures and materials
- 64. Simplify shaders, reflections and lighting effects
- 75. Check LOD, draw distance and streaming settings
- 86. Trim physics, audio and scripted vehicle behavior
- 97. Test at a resolution and setting budget your hardware can hold
- 10Common Mistakes
- 11Frequently Asked Questions
- 12How do I optimize GTA V for a low-end PC?
- 13Is GTA 5 CPU or GPU heavy?
- 14Why does my GTA 5 car mod cause lag and stuttering?
- 15How can modders drastically reduce the file size of a vehicle mod?
- 16Can GTA 5 run on integrated graphics or a 128MB card?
- 17Do I need OpenIV to mod GTA 5, and is it legal?
- 18Conclusion
What You Need
Gather this before you open a single file. Most broken installs happen because somebody edited one file and never kept the rest.
- The mod files themselves — usually a
.yftmodel, one or more.ytdtexture dictionaries, and sometimes an.rsc7or a handling file. Keep the original download unzipped somewhere safe. - A copy of the vehicle it replaces — the stock game files from
x64dlcpackspatchdayand thevehiclesfolder. This is your rollback. - OpenIV with Edit Mode enabled, which is what lets you write to the game folder at all.
- Your game version — a car mod made for a build older than your current patch can crash on launch, and no amount of texture trimming will fix it.
- Optional but useful: an ASI loader for diagnosis, Script Hook V and Menyoo for spawning a specific car on demand, plus GPU-Z or Afterburner if you want to watch VRAM and GPU usage live.
- A written baseline — the frame rate, the load time to first playable frame, and the location where you test. Write it down. Memory says so, and I still forget.
Step-by-Step: How to Optimize a Car Mod for Weak Hardware
1. Create a clean vehicle-mod test setup
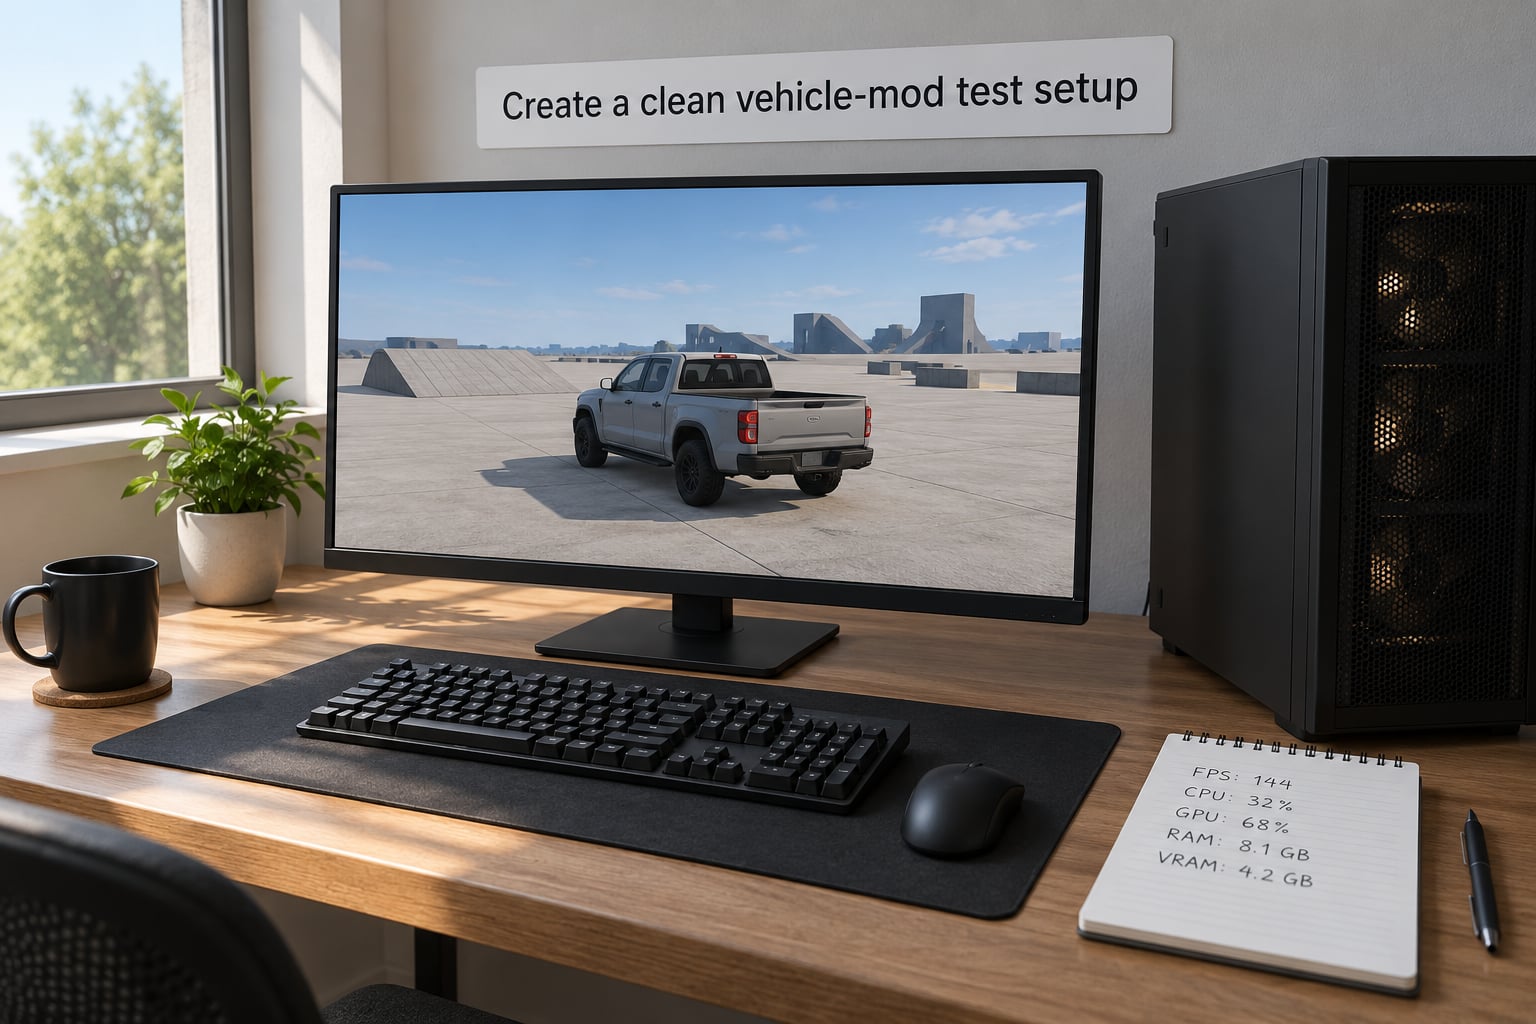
Test one car, in one place, with nothing else installed. Spawn it with Menyoo or an ASI trainer, drive the same 60-second route past the same stretch of road, and record the average and the lowest frame rate you saw. That lowest number matters more than the average, because stutter is what players notice.
Verify step one by repeating the run twice. If the numbers swing wildly between identical runs, your bottleneck is something else entirely — usually the drive or a background program — and any change you make now will be unreadable.
2. Reduce polygon count and mesh detail
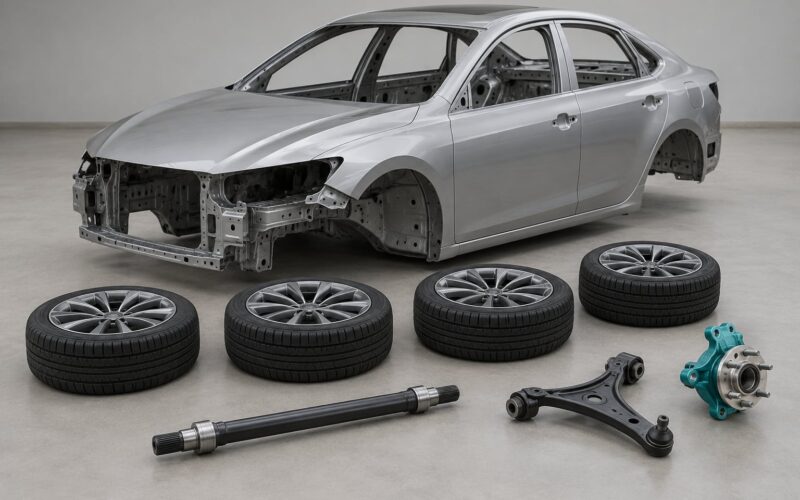
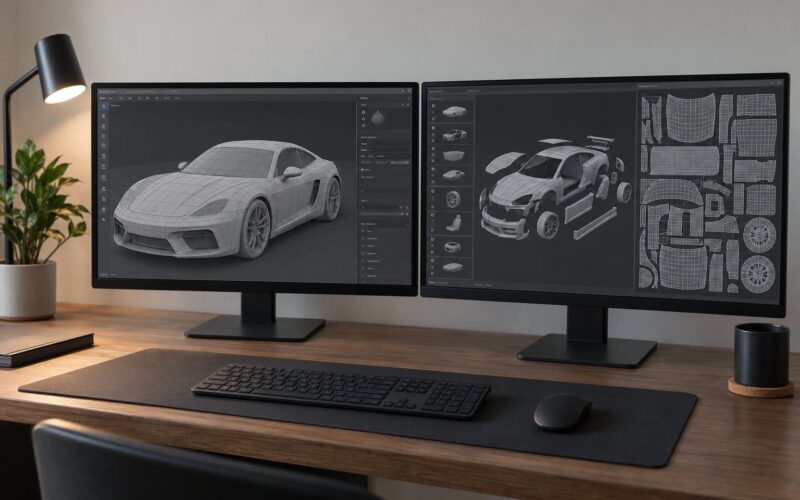
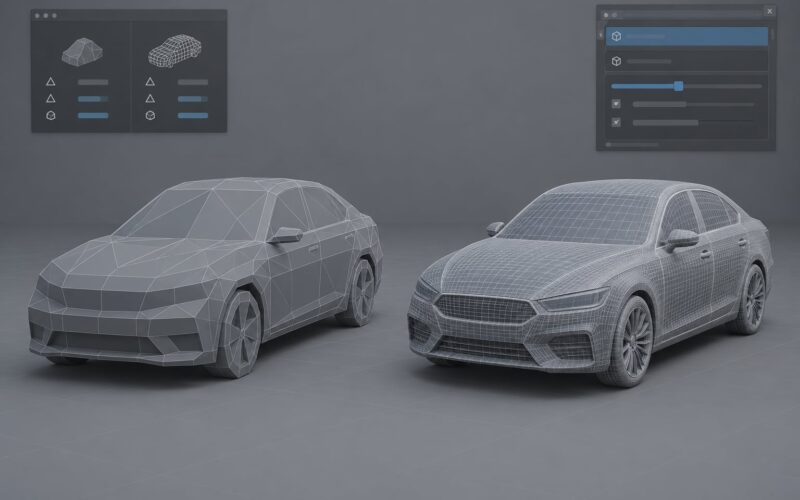
Geometry cost is per-frame and scales with what is on screen. A detailed add-on car with a full interior, working mirrors, separate wheel spokes and a modeled engine bay can push hundreds of thousands of extra triangles through a GPU that was already struggling.
What you can safely trim without changing how the car looks from ten metres away:
- Interior and boot geometry nobody will see through the glass.
- Engine bay detail, undercarriage parts, and hidden suspension arms.
- Fine spoke detail on wheels — a simplified wheel reads almost identically at driving speed.
- Small emissive parts such as badge lettering and exhaust tips.
Keep the body shell, the glass, and the lights. Strip those and the car looks wrong from the driver’s seat, which is the one angle that matters.
How to verify: watch the frame rate while parked in front of a reflective wall. Reflections double the draw cost of a car, so any improvement shows up clearly there first.
3. Remove or downgrade expensive textures and materials
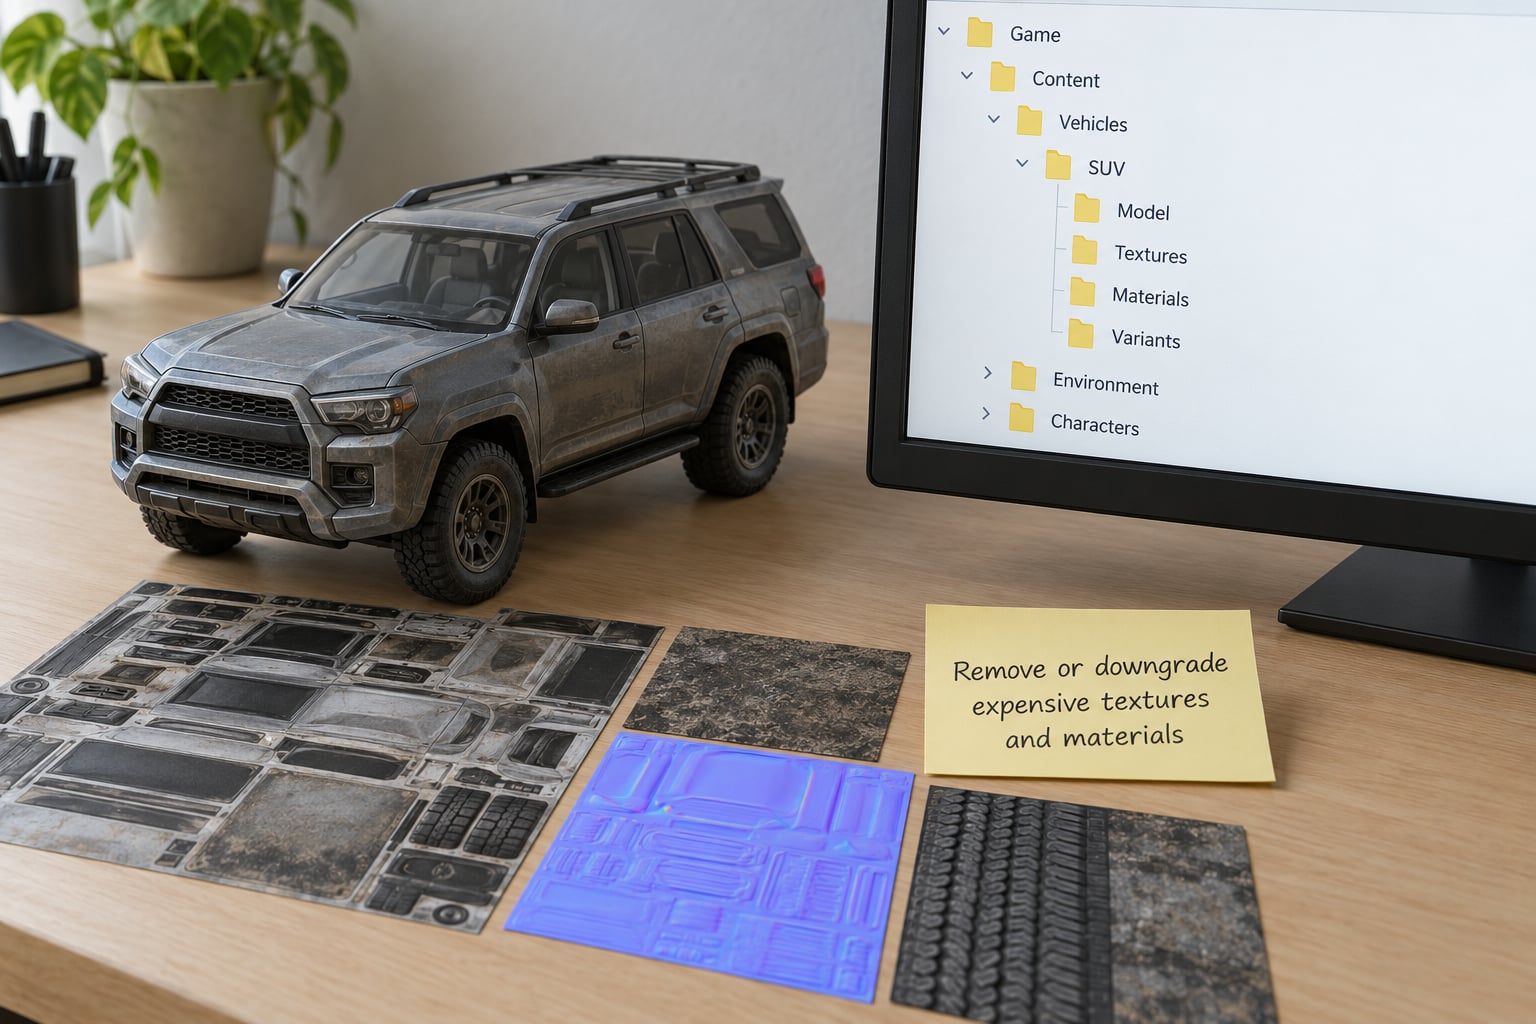
This is usually the biggest single win on a 1GB or 2GB VRAM card. A hi-res texture dictionary for one car can sit between 20 and 100MB, and the engine holds a working set of them in VRAM while you drive. Two or three heavy cars on screen and you are already thrashing.
Look at the texture dictionary the mod ships with and downscale the diffuse, normal and specular maps to what your VRAM tier can hold. On integrated graphics, 512×512 per body panel is usually enough. On a dedicated card with 4GB or more, 1024×1024 is comfortable. Do not shrink the glass or the light textures, because thin surfaces show their resolution more.
Two things to be careful about. Duplicate materials in the same file cost VRAM without adding anything visible, so merge them. And UV mapping must survive the resize — a texture that no longer fits its mesh produces stretched panels that look worse than the stutter did.
How to verify: open GPU-Z while the car is parked on screen and note the VRAM used before and after. If VRAM barely moved, you edited a file the game was not loading.
4. Simplify shaders, reflections and lighting effects
Reflective surfaces are the quiet killer on weak GPUs. A clean, glossy car body with a working reflection probe is one of the most expensive things on a weak graphics card, because the game has to render what the paint is reflecting.
Turn off or soften reflective surfaces first, then heavy transparency on glass, then any complex custom shader the mod author shipped. If you run ReShade, remember that every car texture passes through the whole shader stack — a preset with RTGI and several bloom passes multiplies the cost of each vehicle on screen. Drop to a minimal preset while testing, something like a sharpen, a vibrance and a tonemap pass, then add back only what you can afford.
How to verify: drive at night past streetlights. If the reflections on the body disappear entirely and the frame rate jumps, that layer was the cost.
5. Check LOD, draw distance and streaming settings
LOD means level of detail: the engine renders a full-detail car close up, a reduced version at medium range, and a cheap outline further out. Pop-in at speed — cars or scenery snapping into a blobby shape as you accelerate — means the LOD chain is either missing, misconfigured, or set at a distance your machine cannot sustain.
Files that ship without proper low and medium LODs are a common problem. Removing the LOD files entirely is worse, not better: the engine then draws the high-detail model at every distance and your frame rate collapses. Replace them with correct low-poly LODs instead.
In your config, pull the extended distance and LOD multipliers back. A draw-distance extender is the exact wrong mod for a 940MX or an Intel integrated chip — users on those machines already report buildings dropping to low LOD the moment they accelerate hard. Lowering the shadow distance and the LOD distance together fixes the pop-in instead of causing it.
How to verify: find a straight highway, hold a steady speed, and watch the roadside. If the geometry settles quickly and stops changing shape, the chain is correct.
6. Trim physics, audio and scripted vehicle behavior
Not every cost is visual. An over-engineered handling script, a set of extra collision objects, an elaborate custom engine sound with dozens of layered samples, or a script that runs every frame can cost CPU time you cannot spare — and CPU-bound stutter looks nothing like GPU-bound stutter, because it hits even when the graphics are simple.
Read the handling file and cut values you do not need rather than raising them for fun. Drop unused collision meshes. Compress or trim long engine audio layers, and check whether the mod ships extra scripts in an scripts folder that only one car uses. Remove them if you are not running the feature they serve.
How to verify: with everything else identical, if lowering the frame rate cap to a fixed value removes the stutter, you were CPU or script bound. If it stutters anyway, the cost is GPU-side and you went back to step 3.
7. Test at a resolution and setting budget your hardware can hold
Now put everything back together and tune the game to the machine. The rule of thumb for weak hardware: match your resolution to your GPU, keep texture quality at medium, shadows on normal or off, and crowd density low. Ambient population is CPU work, so lowering it helps even when your card looks idle in the menu.
Use a frame-rate cap only if your frame pacing is steady — an uncapped machine that hovers near its maximum will stutter whenever it dips. A cap slightly below the rate you can hold consistently usually feels better than the highest number you ever see.
Test the optimized car against the stock vehicle at the same spot and the same settings. If the add-on is now within a few frames of stock, the optimization worked and you can stop. If it is still far behind, the remaining cost is in a file you have not opened yet.
Common Mistakes
- Deleting game files to “free space.” Deleting the LOD files or the stock vehicle you are replacing breaks the car in ways no amount of reinstalling will fix. Back up, replace, roll back from your copy.
- Ignoring draw calls. Cutting texture size while leaving dozens of tiny separate materials in place barely moves the needle. Merging redundant materials is often the cheaper fix.
- Mismatched mod formats. A model from one game version and textures from another will crash on launch or render as a white or black shell. Keep every file from the same pack.
- Changing five settings at once. Then nothing tells you what worked, and you cannot roll back cleanly. One change, one test, one note.
- Optimizing the wrong bottleneck. If your GPU sits at 95% while you drive, textures and reflections are the answer. If the GPU sits at 40% and the frame rate still stutters, physics, scripts and crowd density are the answer. Optimizing the wrong layer wastes an evening.
- Installing an optimization mod that raises the cost. Config boosters vary, and some genuinely make things worse — one user report on a low-end booster described loading time roughly doubling and a character model glitch, with only a small gain for the trouble.
- Forgetting that updates break config edits. Players report the same complaint on low-end optimization mods: the settings work until the next patch, then quietly stop. Keep your edited files outside the game folder when you can, and re-check them after every update.
A quick triage table, so you can start from the symptom instead of guessing:
| Symptom | Likely cause | Change first |
|---|---|---|
| Stutter only after adding a car | Oversized texture dictionary | Shrink textures in step 3 |
| Pop-in or outlines at speed | Missing or broken LODs, distance too high | Replace LODs, lower draw distance |
| Crash on launch after an update | Mod built for an older game version | Install the updated version of the pack |
| Low FPS, GPU near full use | GPU bound | Texture size, reflections, resolution |
| Low FPS, GPU mostly idle | CPU bound | Population density, scripts, physics |
| Long load time after a config mod | Mod increased streaming work | Remove it, retune visual settings by hand |
Frequently Asked Questions
How do I optimize GTA V for a low-end PC?
Start with texture quality set to medium or low, shadows off, population density low, and resolution scaled to your native panel size with about 1GB VRAM headroom. Then attack the asset level: downscale each addon car’s texture dictionary, install correct low and medium LODs, and drop any draw-distance extender. Keep a frame-rate cap a little below the rate you can hold steadily, and re-test one change at a time before keeping it.
Is GTA 5 CPU or GPU heavy?
Both, in different situations. At normal resolution with high settings it leans GPU, which is why texture size and reflections dominate on a 1GB card. In dense city traffic, at high resolution, or with many add-on vehicles, the CPU becomes the limit because of draw calls and population. Watch your GPU usage while driving: near full means GPU bound, well under half with stuttering still present means CPU bound.
Why does my GTA 5 car mod cause lag and stuttering?
Usually one of four things: a texture dictionary too large for your VRAM, a missing or broken LOD chain, a reflective body material that forces the scene to render twice, or a scripting and physics setup that costs CPU time. The fastest way to find which one is to test the car alone on a clean setup, then re-add your other mods one at a time until the stutter returns.
How can modders drastically reduce the file size of a vehicle mod?
The three biggest savings come from downscaling texture maps, stripping unused geometry such as interiors and engine bay detail, and merging duplicate materials. Removing LOD files shrinks the download but hurts performance, because the engine then draws the high-detail model at every distance. Keep low and medium LODs and shrink them instead of deleting them.
Can GTA 5 run on integrated graphics or a 128MB card?
It will run, but you will be playing at a low resolution with low textures and no crowd density. Integrated chips share system RAM for graphics memory, so a texture-heavy mod load can starve the whole system and cause stutter rather than just low frame rates. If you are on a very small budget of graphics memory, cut addon cars rather than only lowering settings, and use low-res texture packs for the ones you keep.
Do I need OpenIV to mod GTA 5, and is it legal?
OpenIV is the standard tool for installing vehicle mods, and Edit Mode is what allows writes into the game folder. The bundled ASI plugins are legitimate utilities distributed openly. Using mods on a private single-player install is a grey area under the game’s terms, so read the current rules yourself, and never use modified files on an online multiplayer server where other players are involved.
Conclusion
The safe order is textures first, then reflections and shaders, then geometry, then LOD and draw distance, then physics and scripts, then game settings. That sequence goes from the biggest win with the least risk of breaking how the car looks or drives to the changes that need more care.
Whatever you change, change one thing per test session and write down the number before and after. Keep your stock vehicle files somewhere you can reach in one copy-paste, because the fastest rollback is the one you prepared. And if after all of that the add-on is still heavier than vanilla, a lower-poly replacement built for low-end machines will run better than anything you can strip out of the one you have.